
Face Covering - Style X
Style X is based on the 3M duck bill folding mask used in hospitals, it is designed to fit close to your face, away from your mouth, has an extra layer of woven fabric in the centre piece, folds easily into the bag and easy to take on and off using elastic around the back of your head
(download instructions and pattern)
Step 1

Cut out the pieces listed if you are not working from a York Scrubs bundle. Find the 3 pieces of patterned fabric and match these up with the filter fabric pieces. Be sure to work out which is the nose and which is the chin.
Step 2

Sew the layers together a foot width or 5mm all the way around so that they become like whole pieces of fabric. Option: sew one of the thin layers to each of your lining layers instead, it will help you later if your lining is a slippery fabric.
DO NOT PRESS / IRON at any stage if using York Scrubs filter material.
Step 3

Sew the top and bottom pieces to the centre piece matching the curved edges to the correct side using the notches, then snip into the selvage to reduce the bulk.
Step 4


Assemble the lining pieces in the same way, then with RS together, stitch the lining to the patterned pieces along the bottom chin line. Turn. To ensure the lining stays in place, stitch in ditch along the centre piece seams, or tack in place. Top stitch all the way round - the bottom seam enclosed and the side and top seams raw.
Step 5

Sew the bias binding onto the straight nose edge piece in two pieces (folding in the underneath piece towards you to prevent fraying) so that the nose strip can be taken in and out for washing. Offset the join of the pieces to be about 5.5 cm from one edge, and sew a ‘stop’ through all layers of the binding at 5.5cm from the other edge, to prevent the nose wire from moving too far into the casing. The nose wire needs to sit centrally.
Step 6


Top stitch the joins right through to give the centre panel structure and pull the pieces together at the sides for a close fit.
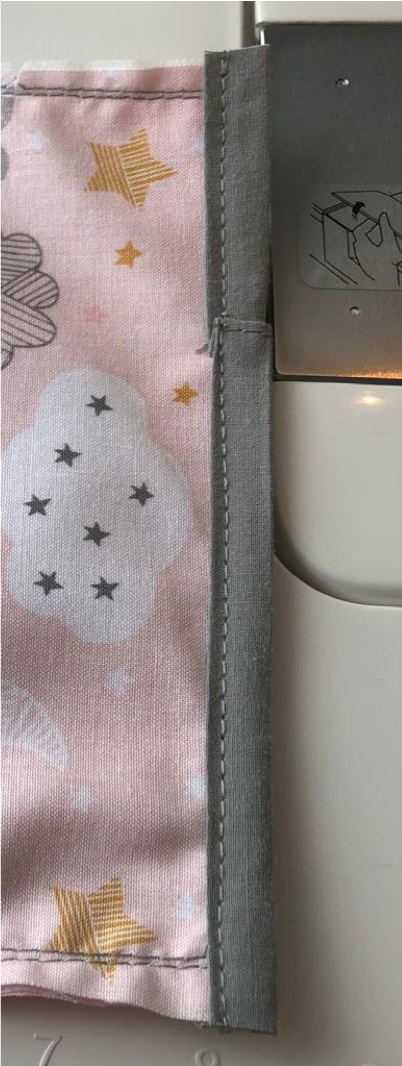
Step 7


Sew on the two elastic pieces and encase them using bias binding.
Step 8


The face covering is now ready to be used.