
Elephants
Elephants show great affection and love towards each other so it seemed the perfect choice to turn those cherished items of clothing into an adorable elephant keepsake to treasure.

Elephant Keepsakes: Instructions
Note: with all sections make sure you back-tack at the start and end of all seams and use a small stitch. All seam allowances are 1/4” unless otherwise stated.
Difficulty: Advanced

Step 1: Cut out pattern and fabric
Cut out pattern pieces on paper, or thin card if you prefer
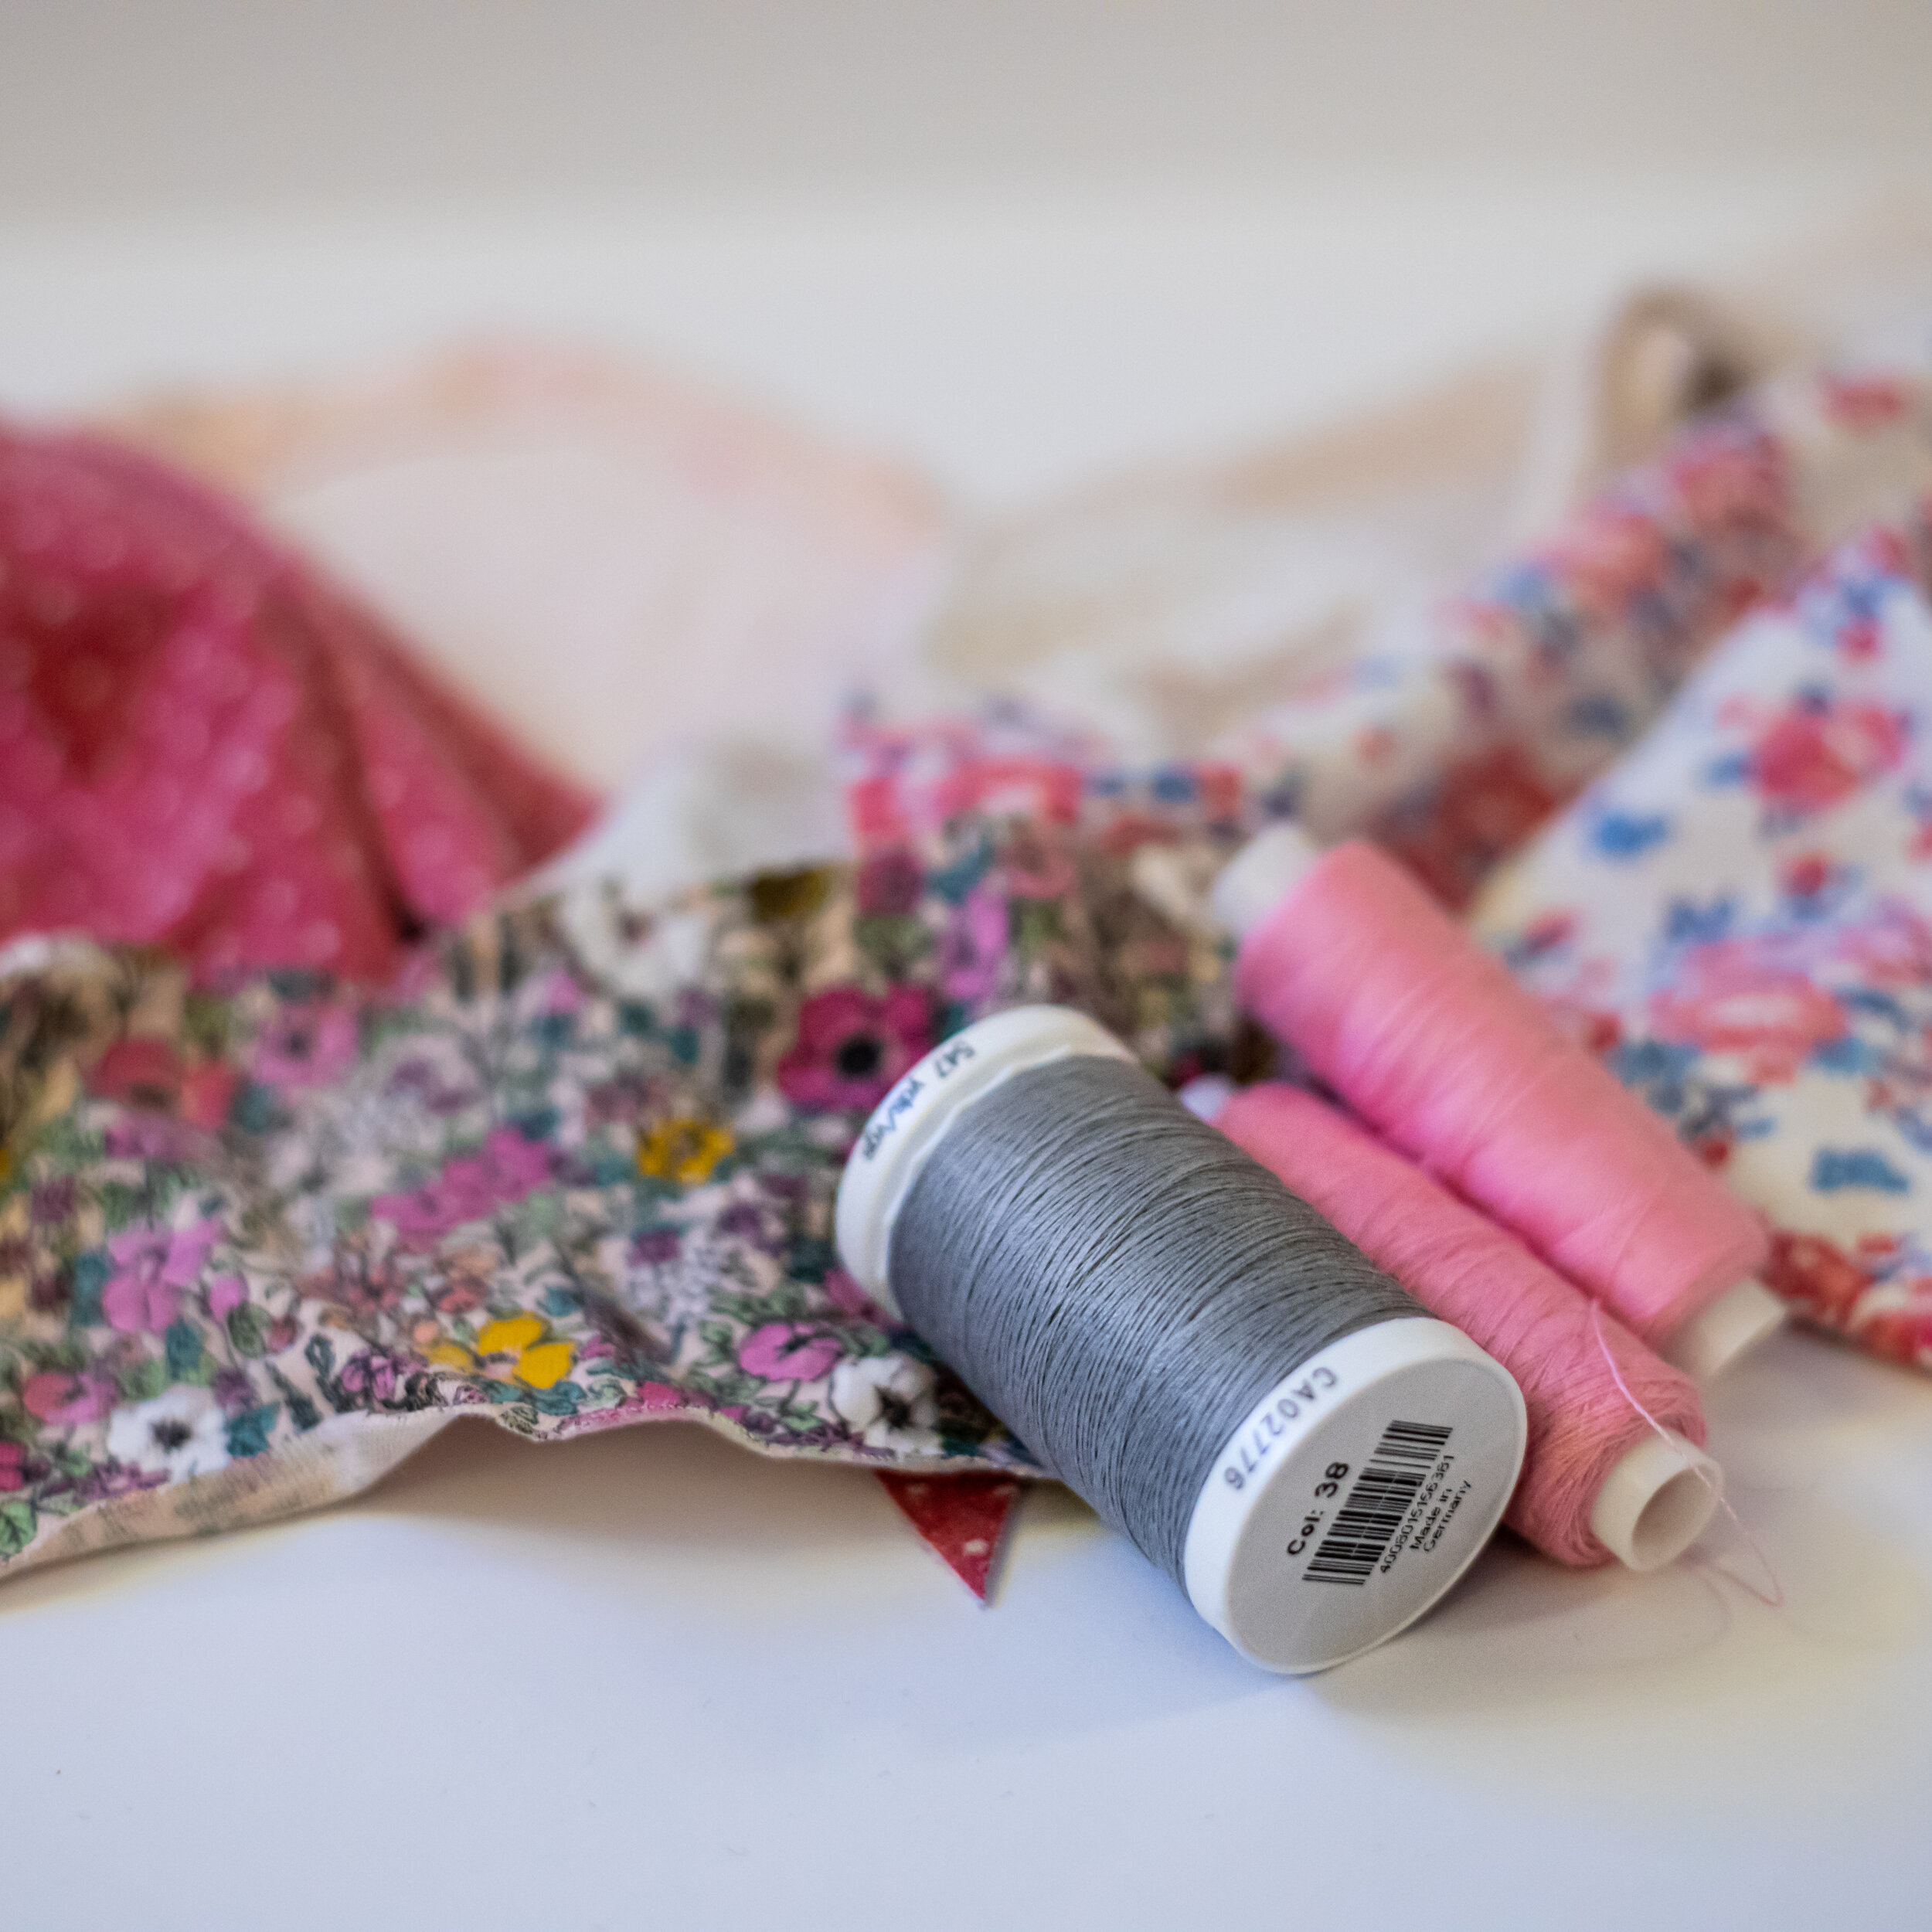
If using two fabrics choose which you are using where, here’s a suggestion
Fabric 1 - inside ears, tail, gussets
Fabric 2 – outer ears, head, body, legs
But you can mix and match as you like.
Mark all dots and circles
Interface pieces as needed depending on fabric used.

Step 2: Sew Ears
Pin 2 ear pieces right sides together
Sew round curved edge
Clip curves
Turn right side out and press
Step 3: Sew Head to Body
Pin ear to straight side of body on right side of fabric between 2 circles
Pin and sew head to body, stop at the circle at the bottom of the trunk
Press seam towards the head


Step 4: Sew Eyes
With embroidery thread sew a French knot for each eye at black squares marked on head or sew small buttons at each black square to form eyes
Step 5 (Optional): Attach stars or hearts
Edge-stitch or blanket-stitch one star or heart to each side of elephant


Step 6: Sew Centre Seam of Legs
Sew two leg gussets together leaving a gap in the middle for stuffing
Press the seam open


Step 7: Sew Tail
Fold tail piece in half, right sides together
Using a smaller seam allowance, sew along 1 long side and across end. Leave a long length of cotton which you can use to help turn the tail right side out.
Trim corners, turn and press. (If you find this too fiddly you can just fold the sides in with right sides outwards and hand sew the seams)
Sandwich tail between the body gusset and tail gusset and sew. Press seam towards the body
Tip: pin the tail towards the body loosely with a safety pin, to keep it out of the way


Step 8: Sew Gussets to Legs
Stitch tail gusset to back of leg gussets, and trunk gusset to front
Make sure you stop at the dots
Press seams towards the leg gussets


Step 9: Sew Gussets and Legs to one side of elephant
With right sides together and the gusset uppermost, pin gusset to body from circle at Point A (on the head) Point B (end of tail gusset)
Clip seam allowance slightly on gusset to aid curve, then sew together
Stop exactly at the end of the seam where you’ve sewn the tail gusset to the leg gusset
Stitch round legs from B to C starting/ending exactly where the tail/leg gusset seam ends

Step 10: Attach the trunk
Pin trunk to body between C and D
Clip seam allowance slightly to aid curve on gusset and sew
Note: make sure you don’t catch the leg/trunk gusset seam allowance
Repeat for the other side, sewing the sections in reverse order
Sew together remaining parts of the trunk between D and A

Step 11: Turn, fill and close
Cut notches out of outside curves on legs
Snip inside curves between the legs
Trim some of the bulk from the trunk
Turn and stuff
Step 12: Finishing
Hand sew gap in gusset with ladder stitch so stitching doesn’t show
